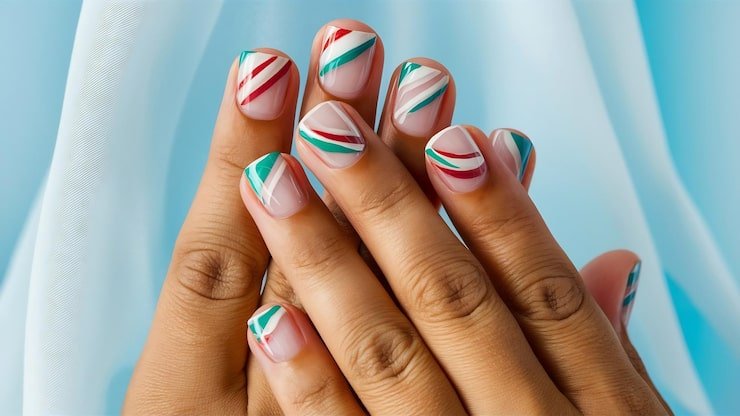
How to Do a Salon-Quality Manicure at Home
Getting a salon-quality manicure doesn’t always require a trip to the nail salon. With the right tools, proper technique, and a little patience, you can achieve beautiful, long-lasting nails right at home. Not only will you save money, but you’ll also have the flexibility to refresh your nails whenever you want.
In this step-by-step guide, we’ll show you how to shape your nails properly, apply polish smoothly, avoid streaks, and make your manicure last longer.
Step 1: Gather Your Manicure Tools
Before you begin, make sure you have the essentials:
- Nail clipper
- Nail file and buffer
- Cuticle pusher
- Cuticle oil
- Base coat
- Nail polish (your favorite color)
- Top coat
- Cotton pads and nail polish remover
Using quality nail care products makes a big difference in achieving professional results.
Step 2: Remove Old Polish and Clean Your Nails
Start with clean nails. Use a gentle nail polish remover to remove any old polish. Wash your hands thoroughly to remove oils and dirt. Clean nails help polish adhere better and last longer.
Step 3: Trim and Shape Your Nails
Trim your nails to your desired length using a nail clipper. Then shape them with a nail file.
Popular nail shapes include:
- Square
- Round
- Oval
- Almond
- Coffin
Always file in one direction to prevent splitting and breakage. Avoid sawing back and forth, as this weakens the nail.
Step 4: Care for Your Cuticles
Soak your hands in warm water for 3–5 minutes to soften the cuticles. Gently push them back using a cuticle pusher.
Avoid cutting your cuticles unless necessary, as they protect your nails from infection. Apply cuticle oil to keep them moisturized and healthy.
Step 5: Buff and Prep the Nail Surface
Lightly buff the surface of your nails to smooth out ridges. Don’t over-buff — just enough to create a smooth base.
Wipe your nails with a small amount of remover afterward to remove dust and oils. This step ensures better polish adhesion.
Step 6: Apply a Base Coat
Never skip the base coat. It:
- Protects your natural nails
- Prevents staining
- Helps polish last longer
Apply a thin, even layer and allow it to dry completely before moving to color.
Step 7: Apply Nail Polish Like a Pro
For smooth, streak-free polish:
- Apply thin coats instead of thick layers.
- Start with one stroke down the center of the nail.
- Add one stroke on each side.
- Allow the first coat to dry before applying the second coat.
Two thin coats usually give the best coverage and shine.
Step 8: Seal with a Top Coat
A good top coat adds shine and protects your manicure from chipping.
For extra durability:
- Apply top coat every 2–3 days
- Seal the tip of your nail by brushing polish across the edge
This simple trick significantly extends the life of your manicure.
Step 9: Let Your Nails Dry Properly
Patience is key. Allow at least 20–30 minutes for your nails to dry completely. Avoid using your hands during this time to prevent smudges.
Quick-dry drops or sprays can help speed up the process.
Tips to Make Your Manicure Last Longer
- Wear gloves when washing dishes
- Avoid using nails as tools
- Moisturize hands daily
- Reapply top coat every few days
- Keep nails hydrated with cuticle oil
Proper nail maintenance keeps your manicure fresh and chip-free for up to 7–10 days.